Updated on: 2025-10-10
Table of Contents
- Understanding Boat Seat Hardware and Marine Seat Hardware
- Step-by-Step Guide: Install or Replace Boat Seat Hardware
- Tips for Selecting and Caring for Boat Seat Hardware
- FAQs About Boat Seat Hardware, Fittings, and Pedestals
Understanding Boat Seat Hardware and Marine Seat Hardware
Your seat system carries real loads every time the water gets rough. Reliable boat seat hardware — including marine seat hardware, boat seat fittings, pedestals, swivel bases, and mounting plates — helps protect the deck, reduces wobble, and supports comfort on longer rides. In simple terms, hardware includes everything that connects the seat to your boat: base plates, pedestals, slides, swivel mechanisms, bolts, screws, washers, and backing plates.
Because seats face spray, vibration, and sun, materials matter. Stainless steel boat seat hardware resists corrosion and holds threads well. Aluminum and powder-coated steel components are common, too. Many owners prefer stainless fasteners even if the pedestal or swivel base is aluminum. This mixed approach balances durability, weight, and budget while keeping corrosion in check.
When choosing boat seat fittings, match components so they work together as a system. A seat rated for certain loads should pair with a compatible boat seat pedestal and a base plate that spreads pressure across the deck. If your boat has hollow or thin fiberglass areas, consider a backing plate beneath the deck. It helps distribute forces and reduces the chance of stress cracks around the fasteners.
If your current setup wobbles or squeaks, a replacement boat seat hardware kit can simplify upgrades. Kits often include the correct fasteners, bushings, and spacers for a tight fit. It is also helpful to check the seat’s bolt pattern (commonly 5” x 5” or 4-bolt patterns) before you buy. A quick measurement saves time and prevents returns.
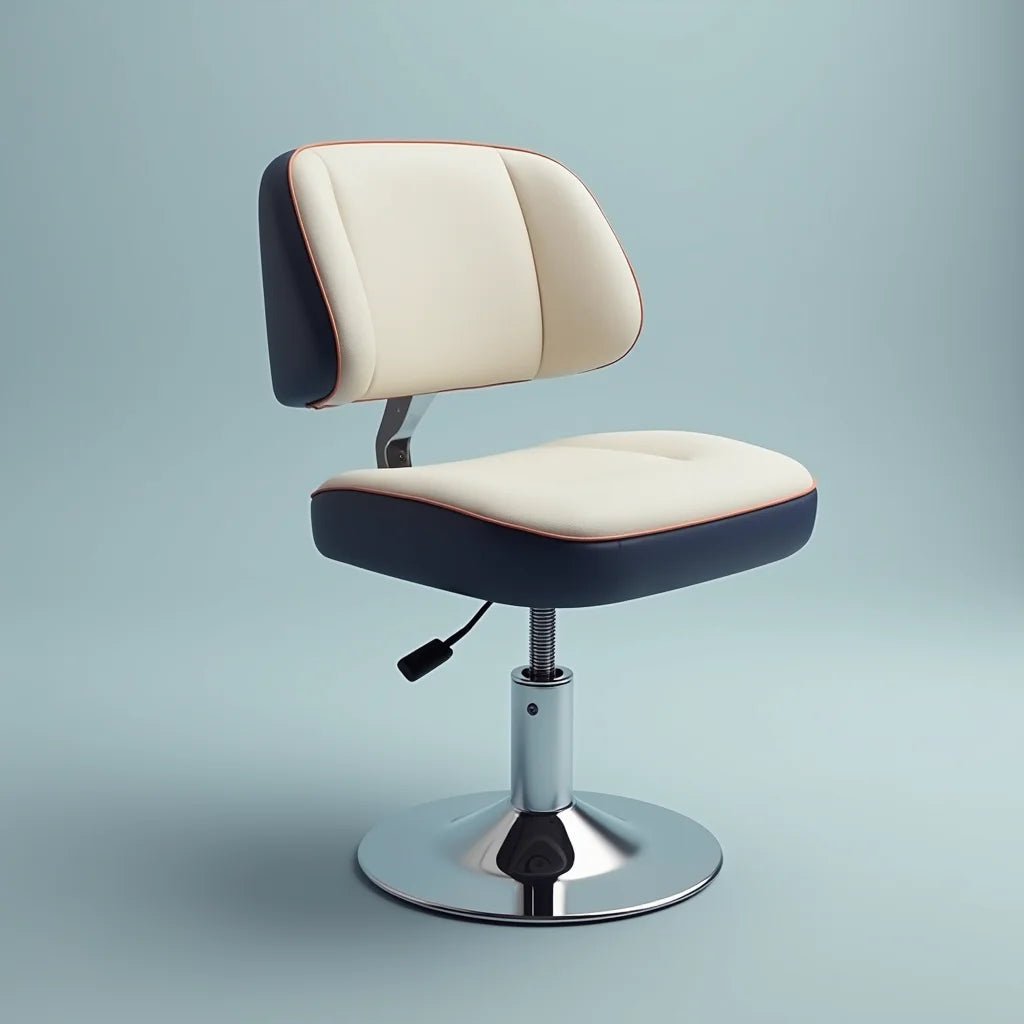
Boat Seat Pedestal and Swivel Base Overview
Pedestals set the seat’s height. Fixed pedestals feel rigid under way, while gas-lift pedestals add adjustability and shock absorption. Taller pedestals are great for visibility but may feel livelier in chop. Shorter pedestals keep the center of gravity low, improving stability.
A boat seat swivel base adds rotation for quick turns and better access to gear. Some swivel bases include a slide track so you can move fore and aft. If you fish, a swivel-plus-slide helps you spin toward the action, then fine-tune your reach to the console or livewell. For the smoothest action and least rust, look for anodized aluminum, stainless pivots, or sealed bearings where possible.
Step-by-Step Guide: Install or Replace Boat Seat Hardware
The steps below answer the longtail question, “How do I install or replace a boat seat pedestal and mounting hardware?” You will find careful notes that encourage a neat, reliable outcome. Please adapt the process to your boat’s specific construction and always follow the component manufacturer’s instructions.
Step 1: Plan, Measure, and Inspect the Mounting Area
Begin by checking the deck thickness and any access from below. Measure the seat bolt pattern and confirm the pedestal-to-base compatibility. If you are replacing existing boat seat hardware, note any damage such as elongated holes or spider cracks. Plan to repair or reinforce before reassembly. Mark the desired seat centerline so alignment matches the helm and sightlines.
Step 2: Pre-Assemble the Pedestal and Swivel Base
Lightly assemble the boat seat pedestal, swivel base, and slide (if used) to confirm fit. Keep hardware finger-tight so you can adjust alignment. Review the pedestal height and swivel range to ensure they suit your hull and console. If you are using a replacement boat seat hardware kit, verify that all fasteners match the instructions and that any bushings are seated correctly.
Step 3: Position, Mark, and Pilot-Drill
Place the base plate at your layout marks. Use a square to align with the boat’s centerline. Mark hole locations with a fine-tip marker or punch. Remove the base and drill pilot holes sized for the fasteners. If you can access the underside, dry-fit a backing plate to confirm clearance for washers and locknuts. Clean the pilot holes and surface dust for a better seal later.
Step 4: Seal, Fasten, and Tighten
Before final assembly, apply a marine-grade sealant around each hole and under the base plate. Insert stainless fasteners and pair them with washers and locknuts on the underside. Tighten gradually in a star pattern to seat the base evenly. Avoid overtightening, which may crush core materials or squeeze out too much sealant. Wipe away excess for a tidy finish.
Step 5: Mount the Seat and Check Movement
Attach the seat to the swivel base using the correct bolts and washers. Confirm smooth rotation and, if applicable, slide travel. Sit and test the ergonomics. Your knees should bend comfortably, and the sightline should feel natural. If the seat creaks or flexes, recheck fastener tension and pedestal alignment before heading out.
Step 6: Final Inspection and Ongoing Care
After the first ride, recheck every fastener. Motion and vibration can relax initial torque. Inspect the sealant line for gaps, then retighten hardware as needed. Adding a brief inspection to your seasonal checklist will help your boat seat fittings last longer and perform better.
Tips for Selecting and Caring for Boat Seat Hardware
- Match materials thoughtfully. Pair stainless steel boat seat hardware with compatible metals to reduce galvanic corrosion. Use nylon or fiber washers as needed to isolate dissimilar metals.
- Use the right fasteners. Stainless bolts, locknuts, and large-diameter washers or backing plates spread loads and protect decks, especially on fiberglass boats.
- Size for real-world loads. If you often travel in chop or carry taller passengers, choose a sturdier pedestal and a robust swivel base. A heavier-duty slide may prevent racking and wear.
- Protect threads. A small amount of anti-seize on stainless threads helps prevent galling. A light dab is usually enough.
- Seal smartly. Marine sealant under the base and in holes helps block moisture and strengthens the joint. Keep a clean, even bead and avoid over-application.
- Check alignment twice. A careful layout keeps the seat centered to the helm and prevents steering strain. Take a moment to align with the boat’s centerline before drilling.
- Maintain on a schedule. Rinse hardware with fresh water after use, especially in brackish or salty conditions. Inspect for play, corrosion spots, or loose bolts every few trips.
- Consider comfort upgrades. A quality boat seat swivel base with a locking detent or a slide with positive stops adds control and comfort during longer days on the water.
- Keep spares handy. A small kit with extra bolts, washers, and a tube of sealant saves the day when a fastener backs out.
- Know when to replace. If you see cracks, elongated holes, or heavy corrosion, a replacement boat seat hardware kit is often the simplest path to a secure, like-new feel.
If you want a broader look at on-the-water outfitting and rigging ideas, the blog offers helpful perspectives. If you need assistance choosing compatible components, feel free to contact us for friendly guidance. You can also explore gear and accessories in the All collections. For the latest updates and resources, visit Clinch River Fishing USA.
FAQs About Boat Seat Hardware, Fittings, and Pedestals
What size bolts and screws do I need for boat seat hardware?
Common seat-to-swivel patterns often use 1/4”-20 stainless bolts with washers and locknuts, while base-to-deck fasteners vary with deck thickness and backing access. If you are mounting into solid wood or backing plates, 1/4” stainless machine screws with locknuts are typical. For aluminum or composite decks with no underside access, use marine-rated stainless screws sized to achieve solid bite without penetrating wiring or fuel spaces below. When in doubt, confirm the seat’s bolt pattern and the pedestal manufacturer’s hardware recommendations before drilling.
How do I install or replace a boat seat pedestal and mounting hardware?
In brief, measure and mark the centerline, pre-assemble the pedestal and boat seat swivel base, position and pilot-drill the base, seal holes, then fasten with stainless hardware and backing plates where possible. Mount the seat, test rotation and slide, and recheck tightness after your first outing. The detailed steps above in the Step-by-Step Guide provide a careful walkthrough.
Should I choose a boat seat swivel base or a fixed base?
A swivel base helps with fishing, docking, and conversations. It also makes it easier to access storage. A fixed base feels slightly firmer under way. Many boaters choose a swivel with a locking feature so they can secure the seat forward during runs and unlock it when they need mobility.
Is stainless steel boat seat hardware worth it?
Stainless hardware offers strong corrosion resistance and reliable thread performance, which is helpful in wet environments. It tends to last longer with simple care, especially if you rinse after use and inspect seasonally. For many owners, the long-term reliability justifies the choice.
How often should I inspect or replace boat seat fittings?
A quick inspection every few trips is kind to your equipment. Look for looseness, corrosion spots, or hairline cracks around mounting holes. If you notice play that will not tighten out, or significant rust, replacing the affected hardware and refreshing the sealant is a considerate step for safety and comfort.

Owner and CEO of Clinch River FIshing USA. A marine electroncs, fishing and outdoor store.